
Free roof inspection with deck photos before we talk money - GAF and Owens Corning certified installation
 Before
 After
After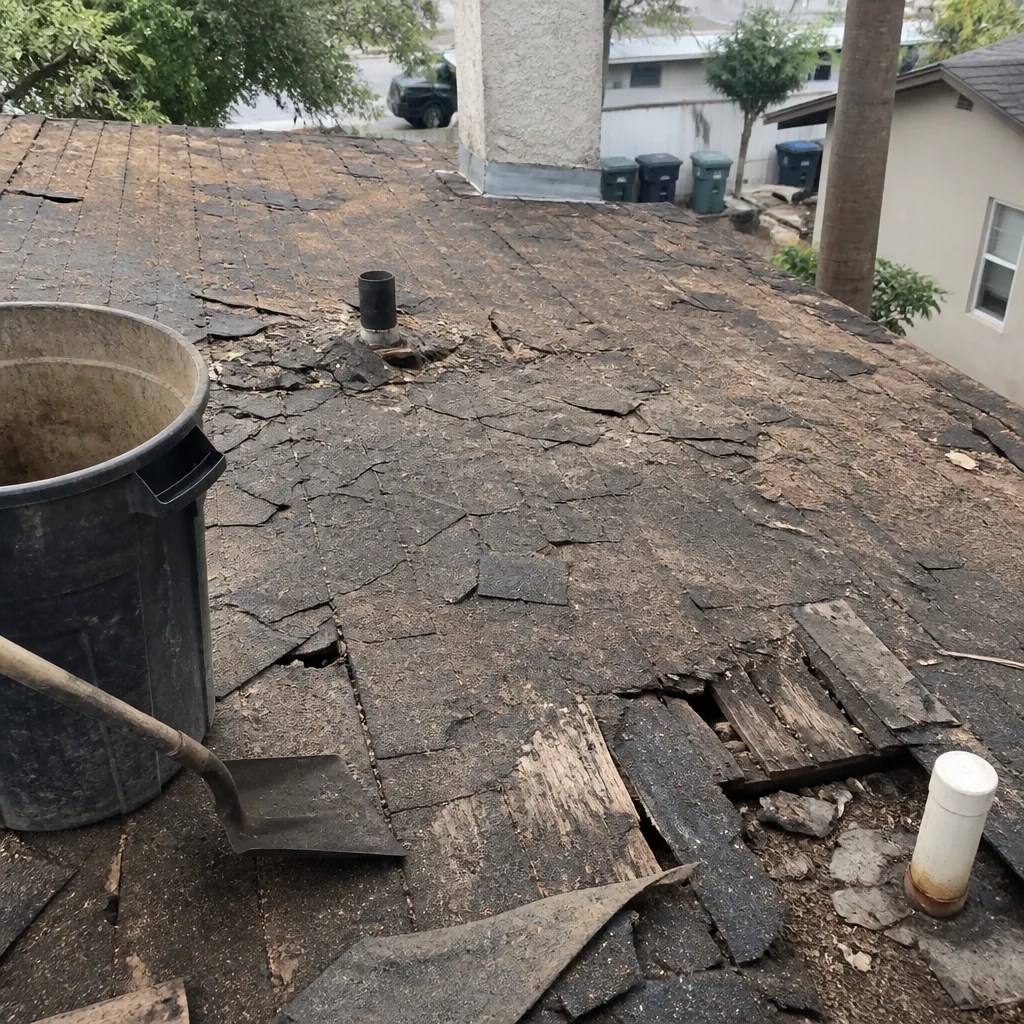 Before
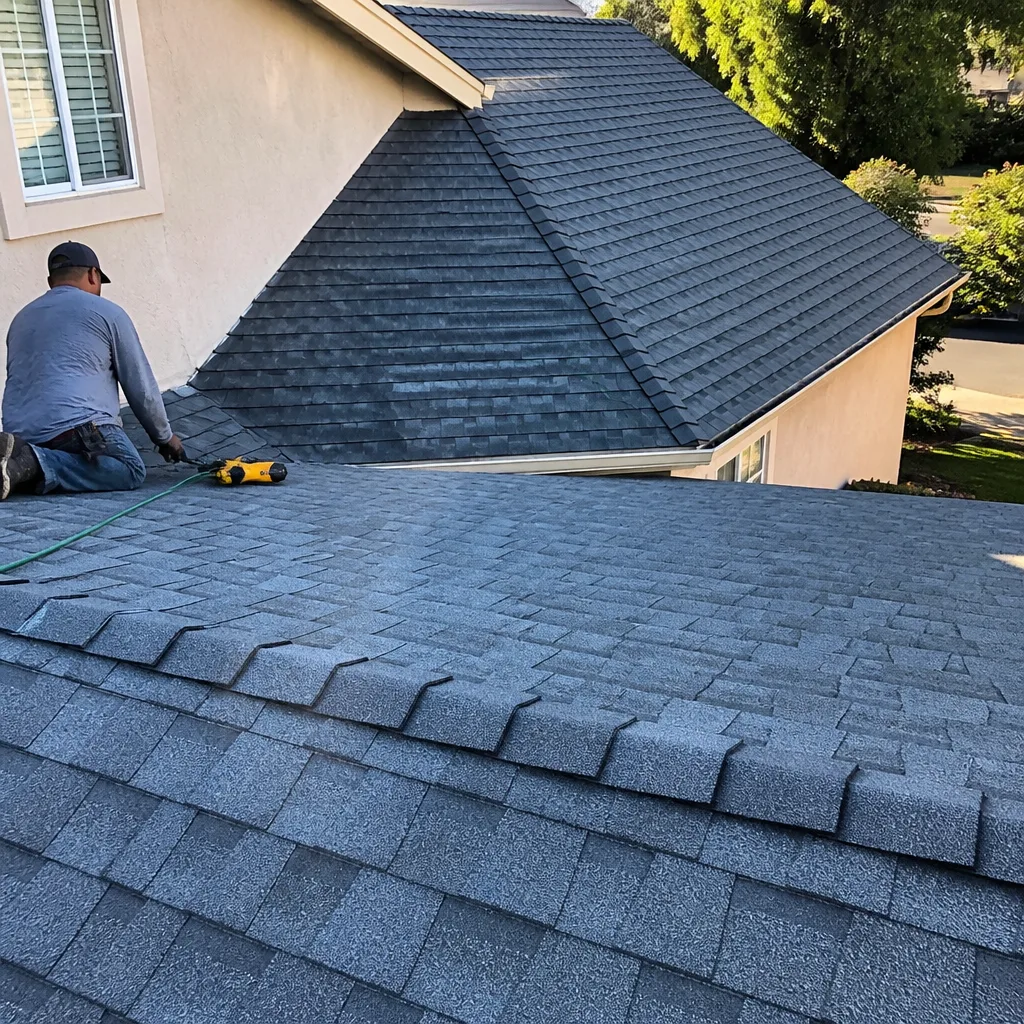 After
After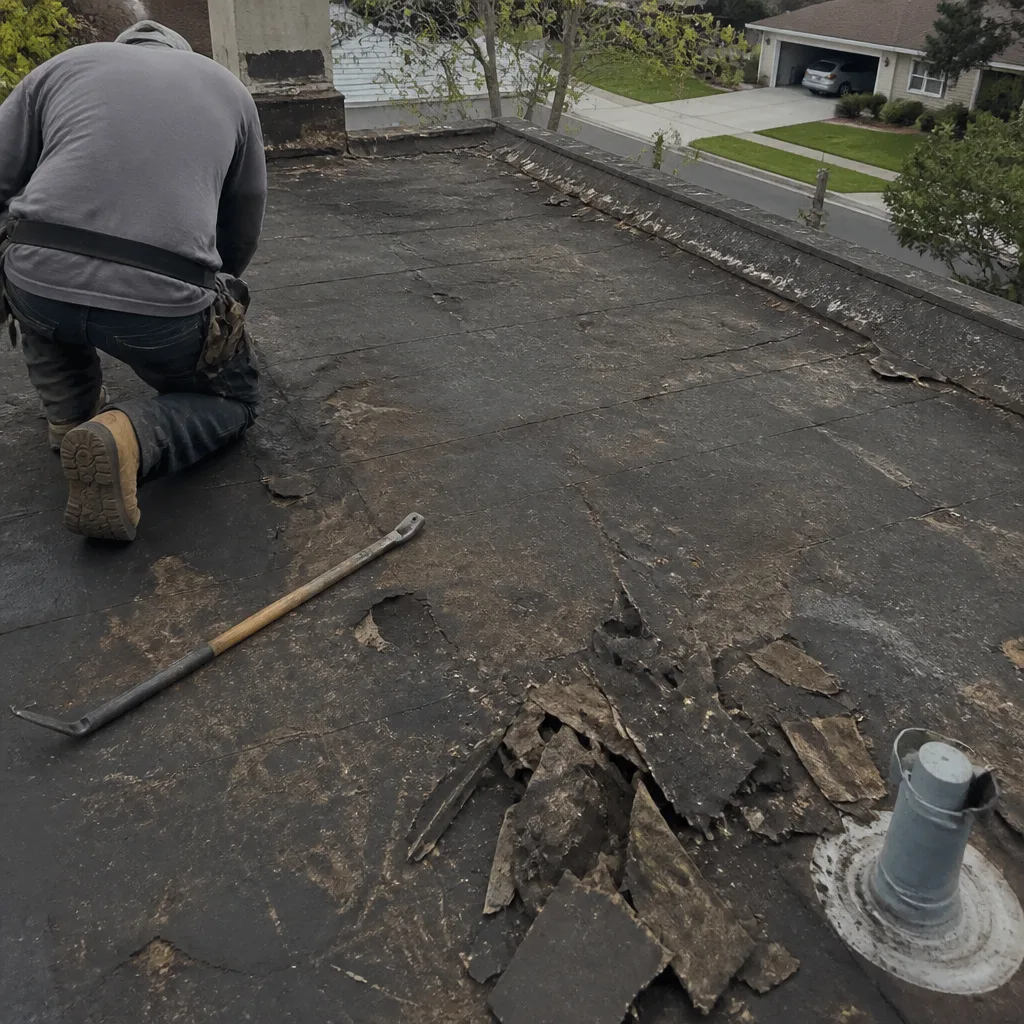 Before
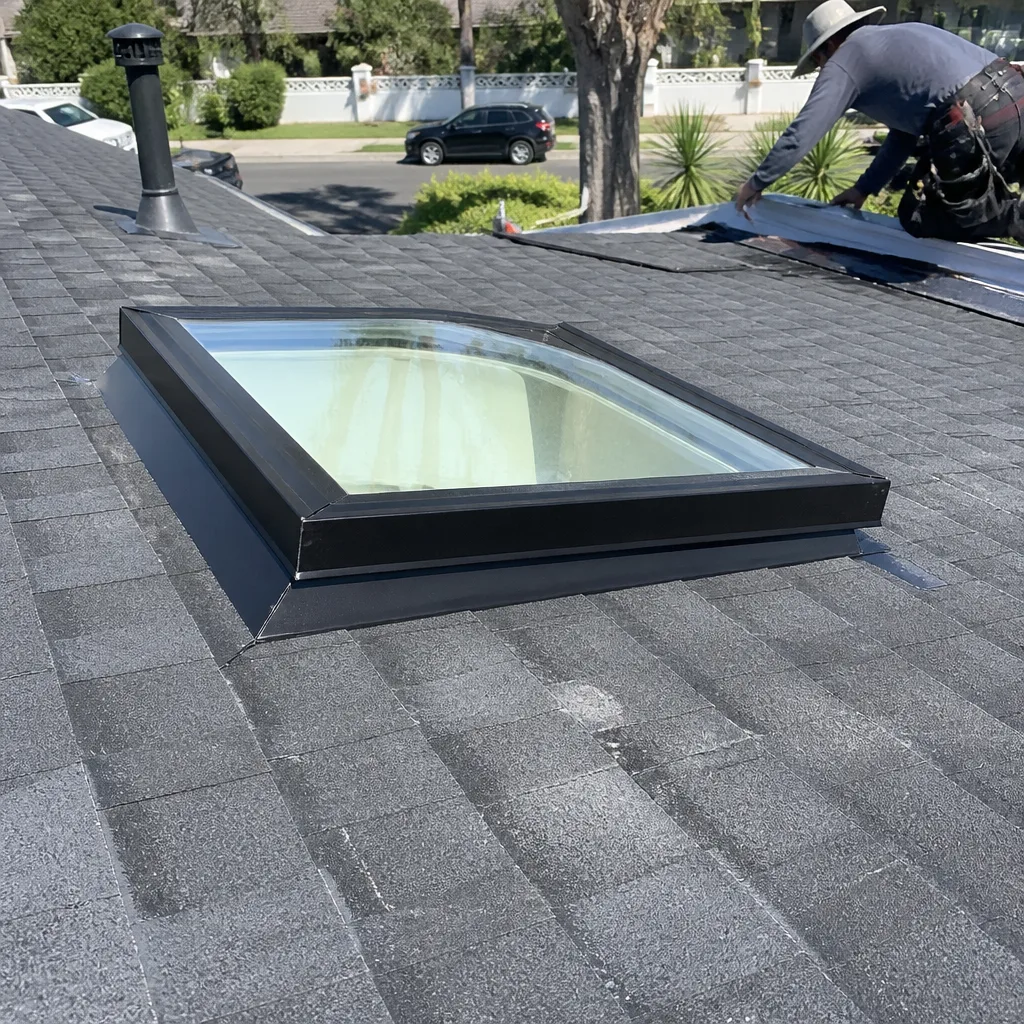 After
AfterTamko Ridge Vent Installation: The Los Angeles Owner’s Guide
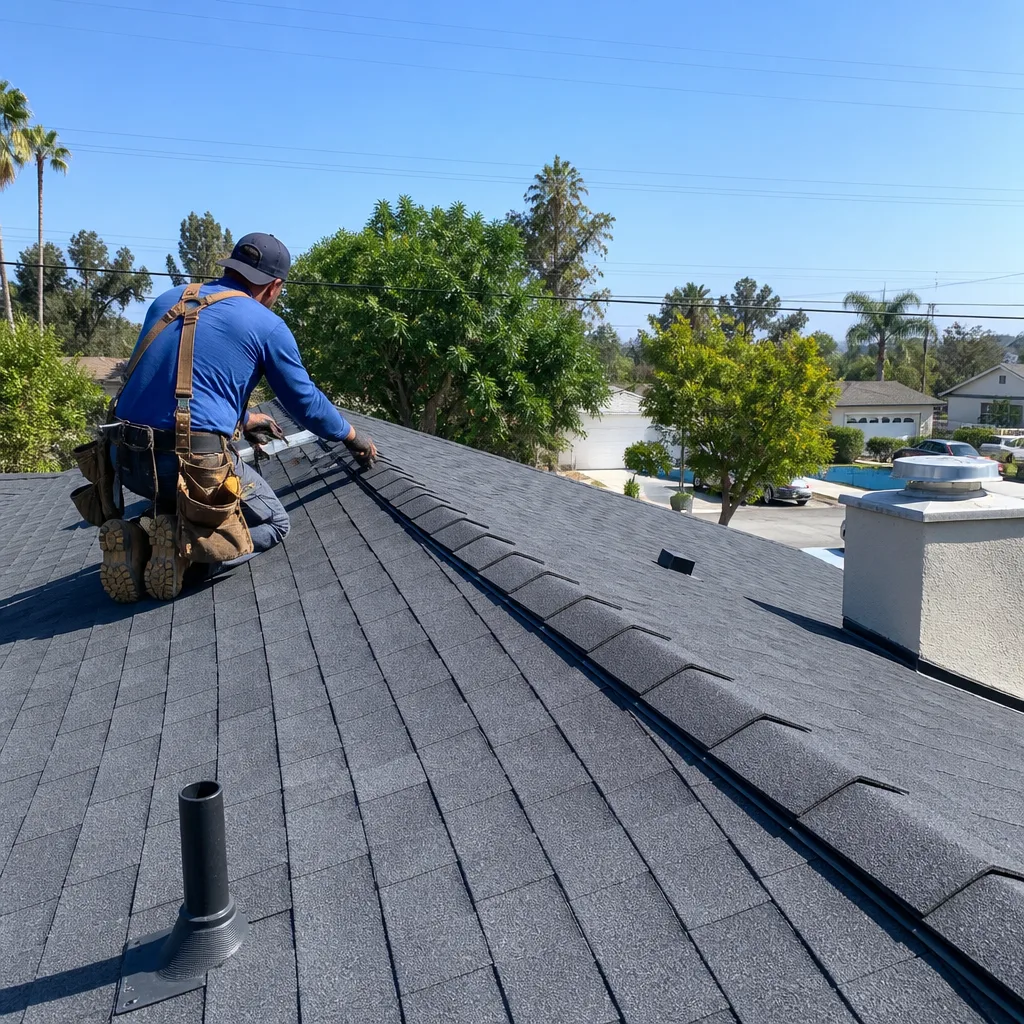
We stock and install Tamko-compatible ridge vents across Los Angeles, with most installations running $380 to $640 including the vent material, labor, and a written guarantee on the work. When a homeowner calls us about their Tamko ridge vent, the story usually starts the same way: a hot upstairs hallway in July, a damp ceiling stain after a rare February downpour, or a neighbor pointing out cracked plastic along the roof peak. The ridge vent runs the entire top of your roof, and when it fails, your attic stops breathing.
In Los Angeles, that failure shows up differently than it does in wetter climates. Our dry heat bakes ridge vent plastic until it becomes brittle. Sun exposure on the south and west roof slopes accelerates this. Most Tamko ridge vents we replace are not leaking because of rain damage. They are failing because ultraviolet light and attic heat have done their work over eight to twelve years.
Which Tamko Models This Applies To
Tamko makes ridge vent under two main product names: the Tamko Metal-Aire and the Tamko Shingle-Over Ridge Vent. The Metal-Aire is a rigid aluminum lower section with a replaceable polyester filter cap. The Shingle-Over is a flexible, rolled ridge vent meant to be covered with shingle caps. Knowing which one you have matters, because the installation method and the failure points are different.
The fastest way to identify your Tamko ridge vent is from the attic, not the roof. Look up at the underside of the peak. If you see a continuous metal channel with a soft filter strip along the top, you have Metal-Aire. If you see a black mesh roll tucked under the roof decking at the peak, you have Shingle-Over. Both are solid products, but in Los Angeles they age at different speeds. The Metal-Aire’s aluminum body lasts decades, while its filter cap typically needs replacement every 6 to 9 years under our UV load. The Shingle-Over’s outer fabric, where exposed at the gap, breaks down faster, usually showing wear at the 8 to 10 year mark in full sun. Tilehurst Roofing is an independent service provider and is not affiliated with Tamko, but we stock Tamko-compatible ridge vent components and know these two systems well. Our techs also carry quality aftermarket equivalents from GAF, Owens Corning, and CertainTeed when an owner wants options at a different price point.
Signs Your Tamko Ridge Vent Installation Is Failing
- Upstairs rooms run hot in summer, even with the A/C working. A functioning Tamko ridge vent lets hot attic air escape continuously. When the vent compresses, clogs, or collapses, the attic becomes a heat trap that radiates down through the ceiling. This is the most common first complaint we hear in Los Angeles from June through September.
- Cracked or curled plastic or aluminum along the peak, visible from the ground. Walk to the street and look at the highest point of your roof. If the ridge line looks wavy, sagging, or you can see pieces out of place, the vent body itself may be warping. On Tamko Metal-Aire, the aluminum channel can pull away from the decking as the fasteners loosen over years of thermal expansion.
- Fine dust or grit collecting in the attic near the peak. The filter media inside a Tamko ridge vent catches wind-blown dust before it enters the attic. When that filter breaks down, Santa Ana winds push grit straight through the gap. You’ll see a fine film on stored boxes or insulation near the roof peak.
- Water staining on the attic floor or on the ceiling below the peak, not near the eaves. This is the failure owners fear most. A ridge vent that cracks can let rain in, especially during the occasional winter storm that hits Los Angeles hard. Stains near the center of the house, running along the ceiling joist line, point to the ridge, not the roof edges.
- Birds, bees, or rodents getting into the attic through the peak gap. When the Tamko vent’s end caps or filter fail, the opening at the ridge becomes an entry point. In the hills around Eagle Rock and Glendale, we regularly see bee activity that started at a broken ridge vent opening. If creatures are getting in at the top of the house, the vent needs attention fast.
Replacement Cost & What’s Included
In Los Angeles, a complete Tamko-compatible ridge vent installation on a typical 1,800 to 2,400 square foot home runs $380 to $640 installed. The range depends on three things: the lineal footage of your roof peak, whether you have Metal-Aire or Shingle-Over (Metal-Aire usually runs slightly higher due to the aluminum channel), and the condition of the roof decking at the peak when we open it up.
That price includes the vent material, removal of the old failed vent, inspection of the peak cut and decking, fastening and sealing the new vent, and a written guarantee on the installation. We hand you a line-item price before any work starts, and that number doesn’t change at the door. Greg Holloway has been working Los Angeles roofs long enough to know that a ridge vent job rarely goes wrong unless someone takes shortcuts at the fastening or sealing stage. We don’t. Our crew carries Tamko-compatible vent sections, filter rolls, end caps, and fasteners on the truck, so most ridge vent replacements are done in a single visit.
DIY or Call Us?
You can safely do the inspection part yourself. From the attic, look at the underside of the peak with a flashlight. Check for light leaking through where it shouldn’t, cracked filter material, or gaps at the ends. From the ground or a ladder on the eave, do a visual check of the ridge line. Those observations help you understand what’s happening without putting yourself at risk.
What you should not do is walk the ridge line to replace a Tamko vent yourself. Ridge work puts you at the highest, steepest part of the roof, and one misstep there is a serious fall. The fastening pattern also matters: too few fasteners and the vent lifts in Santa Ana winds; fasteners in the wrong spot and you’ve created a leak path through the decking. Our techs do this work on harnesses and know the correct spacing and sealant schedule for Tamko’s systems. Know the price before the first tile moves. Call (945) 303-9821 and we will give you a written number for a Tamko ridge vent replacement before you commit to anything.
FAQs
A Tamko ridge vent in Los Angeles typically lasts 8 to 12 years before the filter media or exposed fabric begins to fail under UV exposure. The aluminum body of a Metal-Aire vent lasts much longer, but the replaceable filter cap is the wear item. Homes with full southern or western ridge exposure tend to sit at the lower end of that range.
Sometimes the filter or end caps can be replaced without pulling the entire vent, especially on Tamko Metal-Aire systems where the aluminum channel is still sound. If the vent body itself is warped, cracked, or pulled from the decking, a full replacement is cheaper and more reliable than patching. Call (945) 303-9821 and we’ll tell you which one applies to your roof after a look.
Most Tamko ridge vent replacements in Los Angeles are completed by our crew in a single visit, usually 4 to 6 hours depending on the linear footage of the peak and how much old fastening needs to come out. If the roof decking at the peak shows rot or damage once the old vent is off, we stop, write up what we found, and get your approval before extending the work.
Yes. Our techs carry Tamko-compatible Metal-Aire and Shingle-Over vent sections, filter rolls, end caps, and fasteners, along with equivalent options from GAF, Owens Corning, and CertainTeed. That usually means we can complete the job in one trip without waiting on a supplier. Call (945) 303-9821 to confirm your specific setup and get a free estimate.
Written by Greg Holloway, Owner, Tilehurst Roofing at Tilehurst Roofing, serving Los Angeles and nearby areas.