
Last updated October 8, 2026
Free roof inspection with deck photos before we talk money - GAF and Owens Corning certified installation
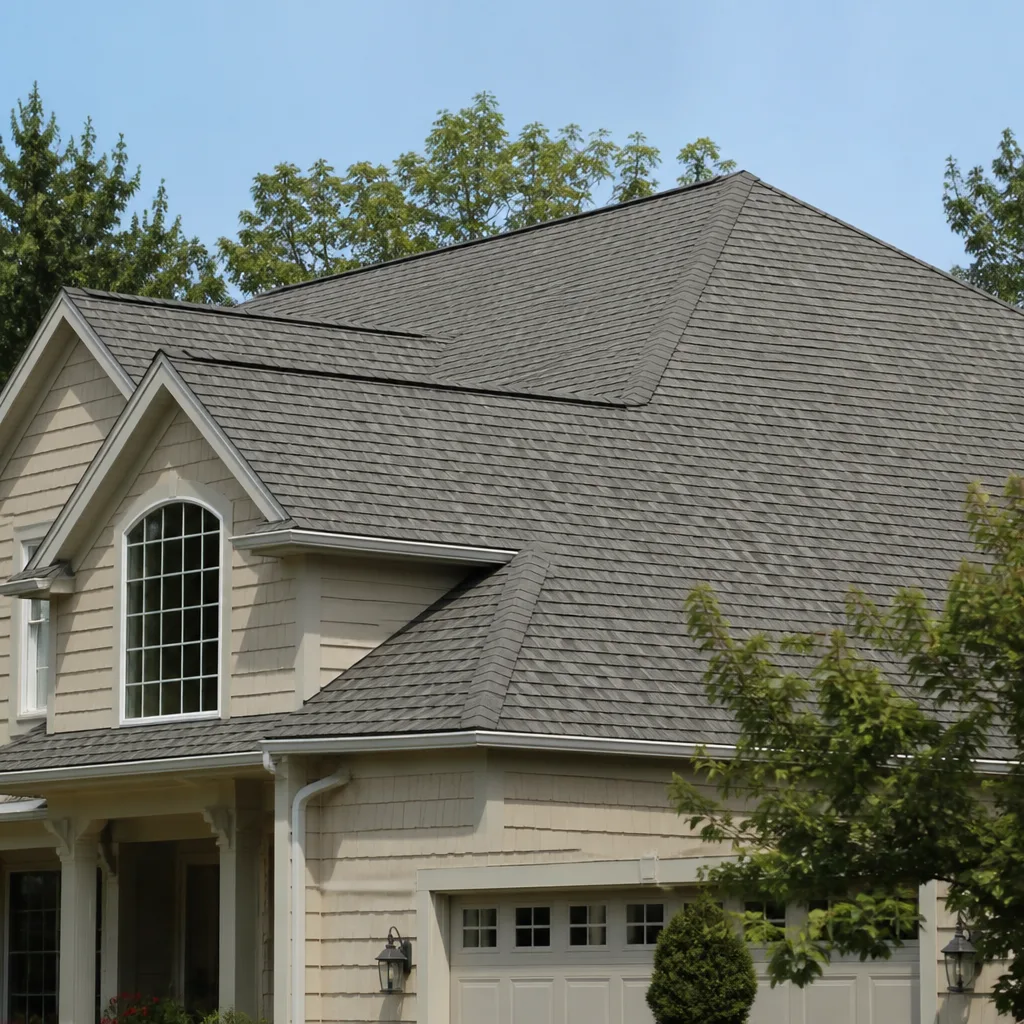
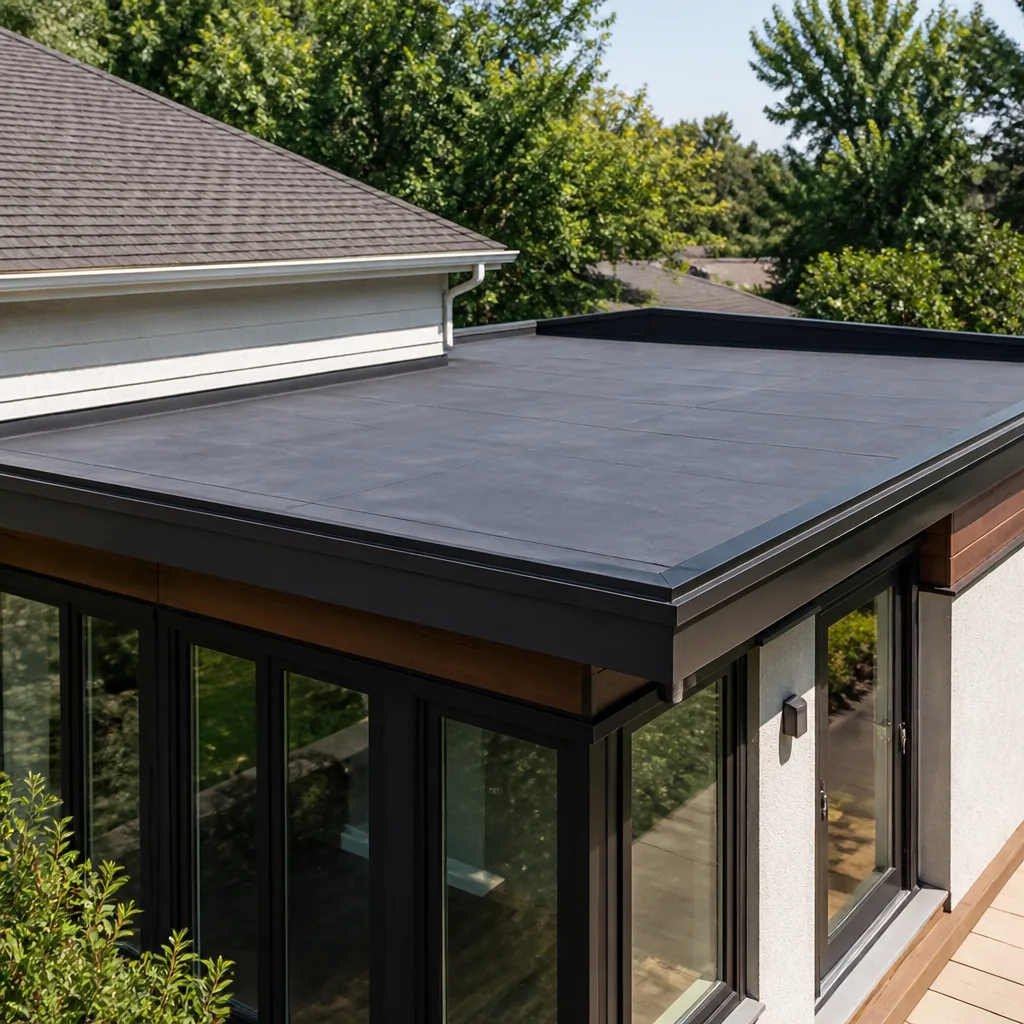
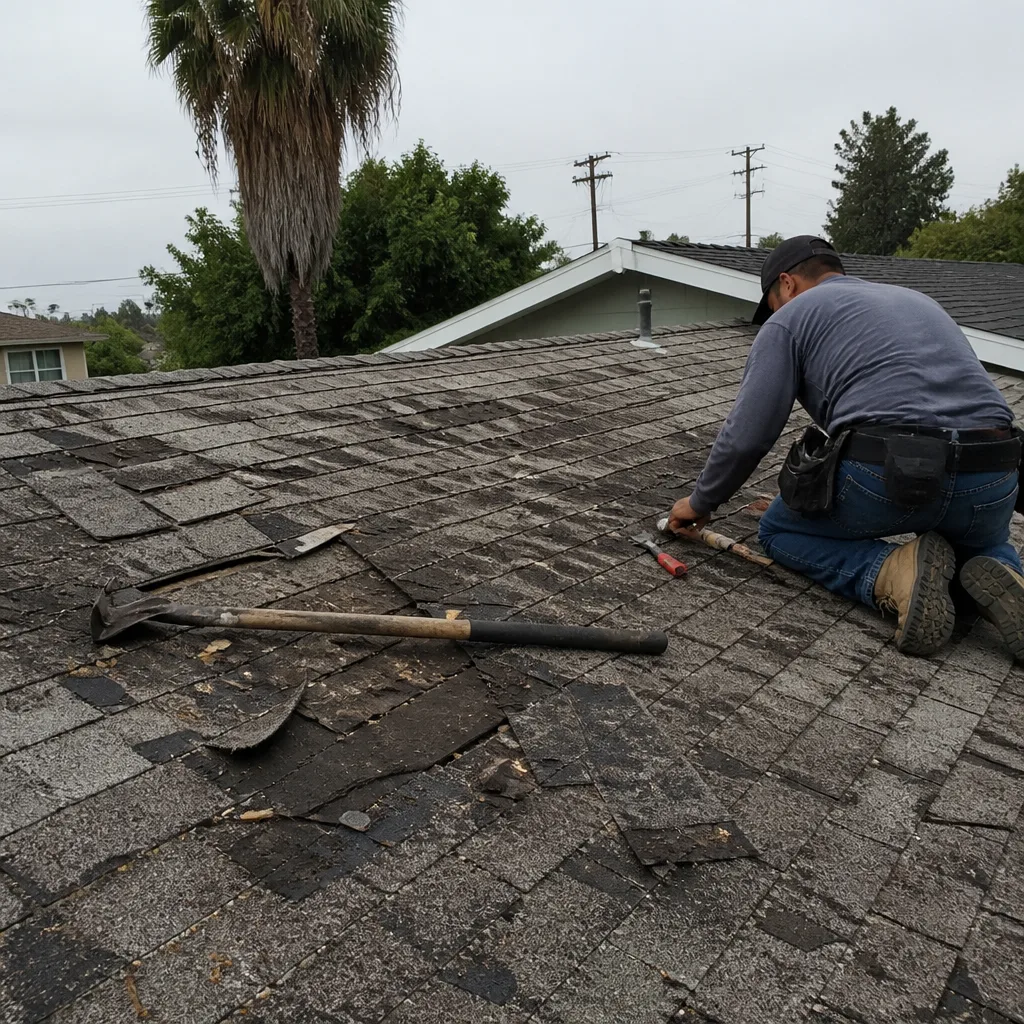 Before
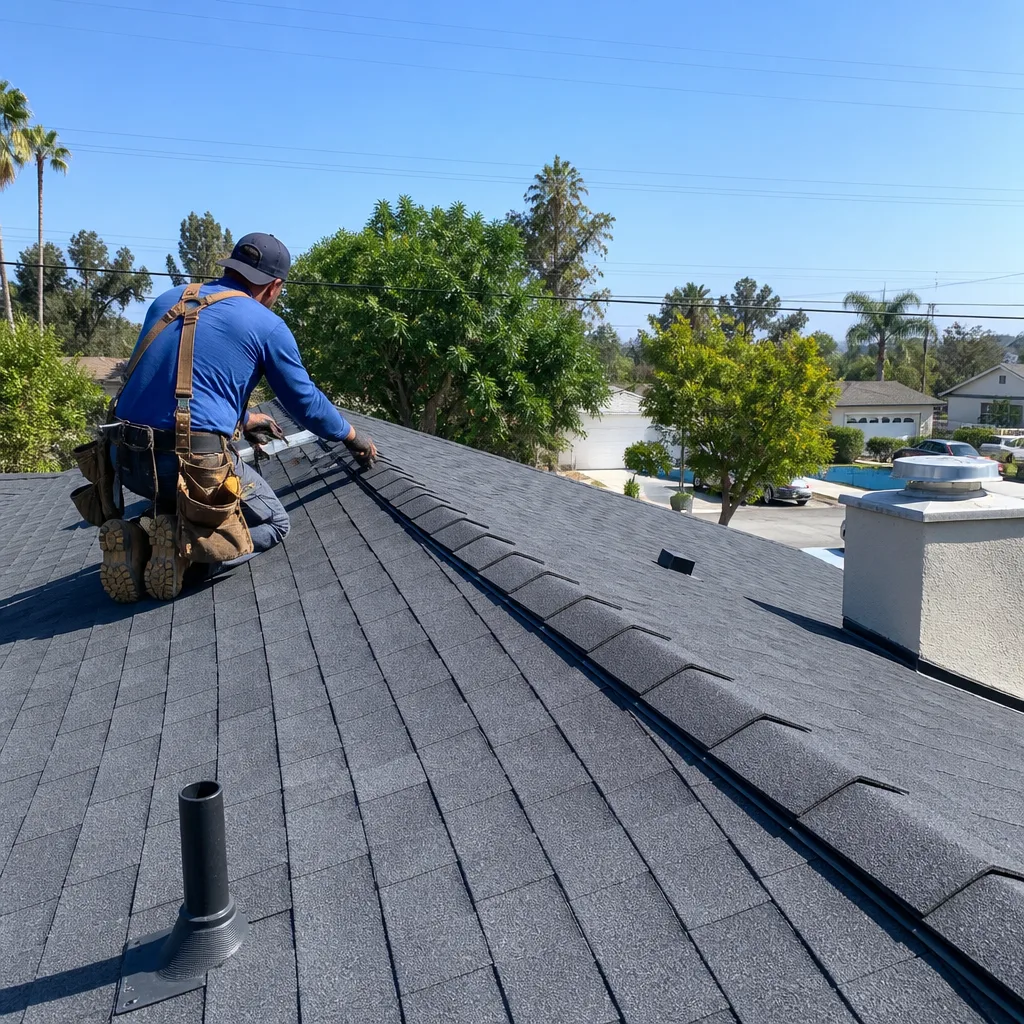 After
After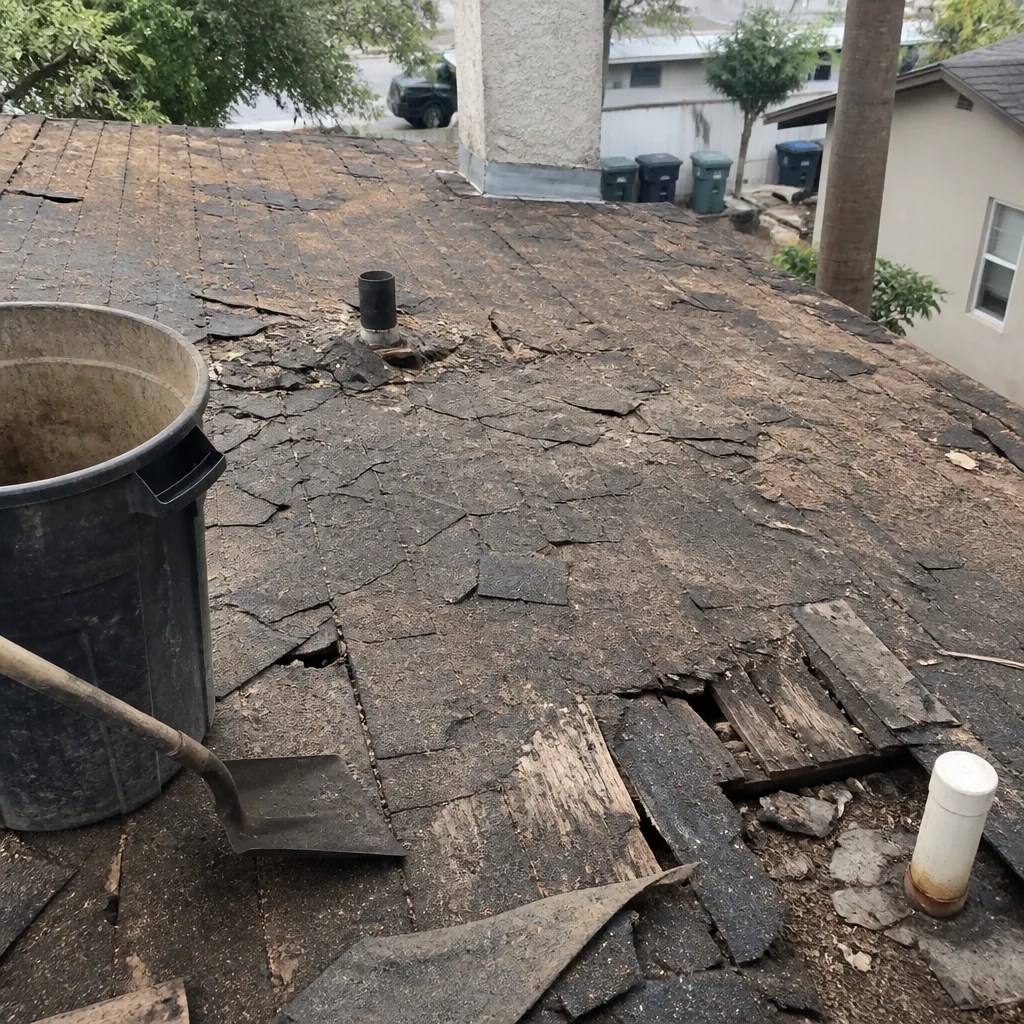 Before
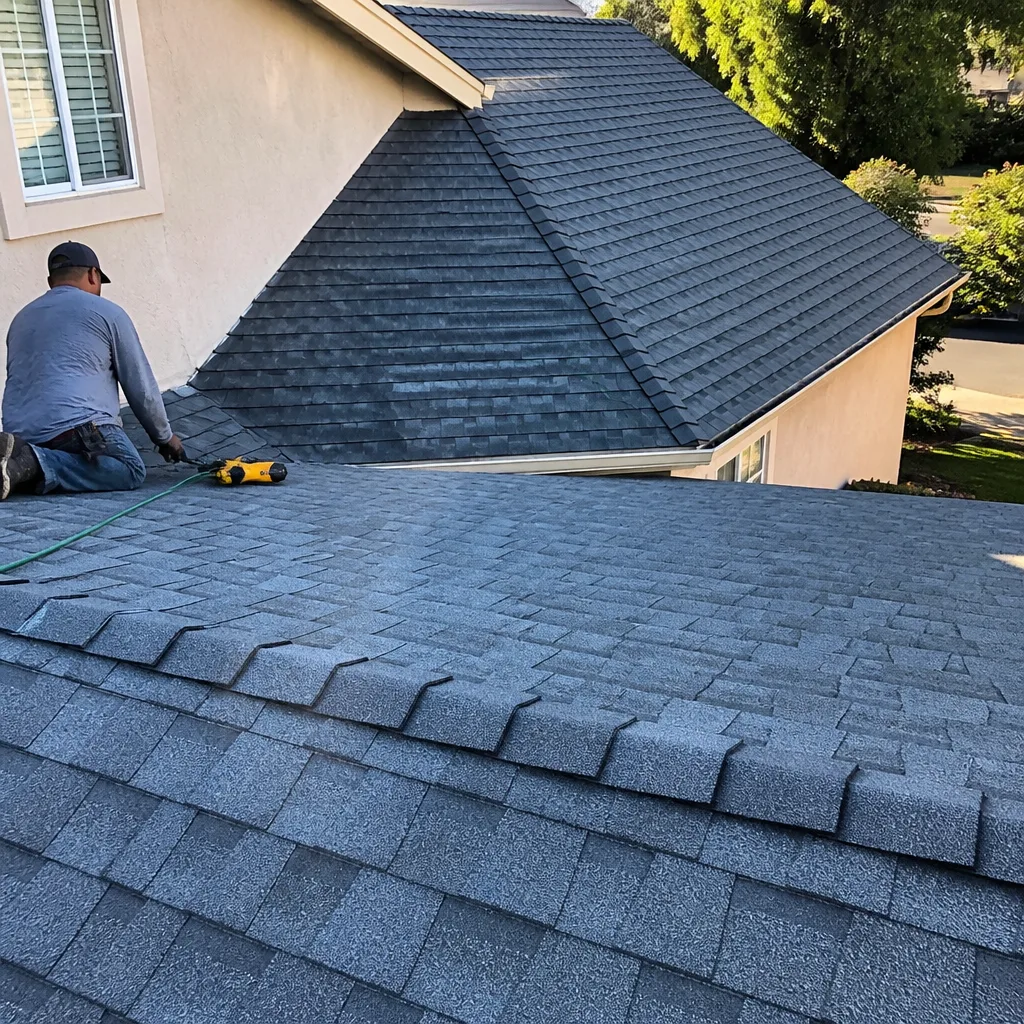 After
After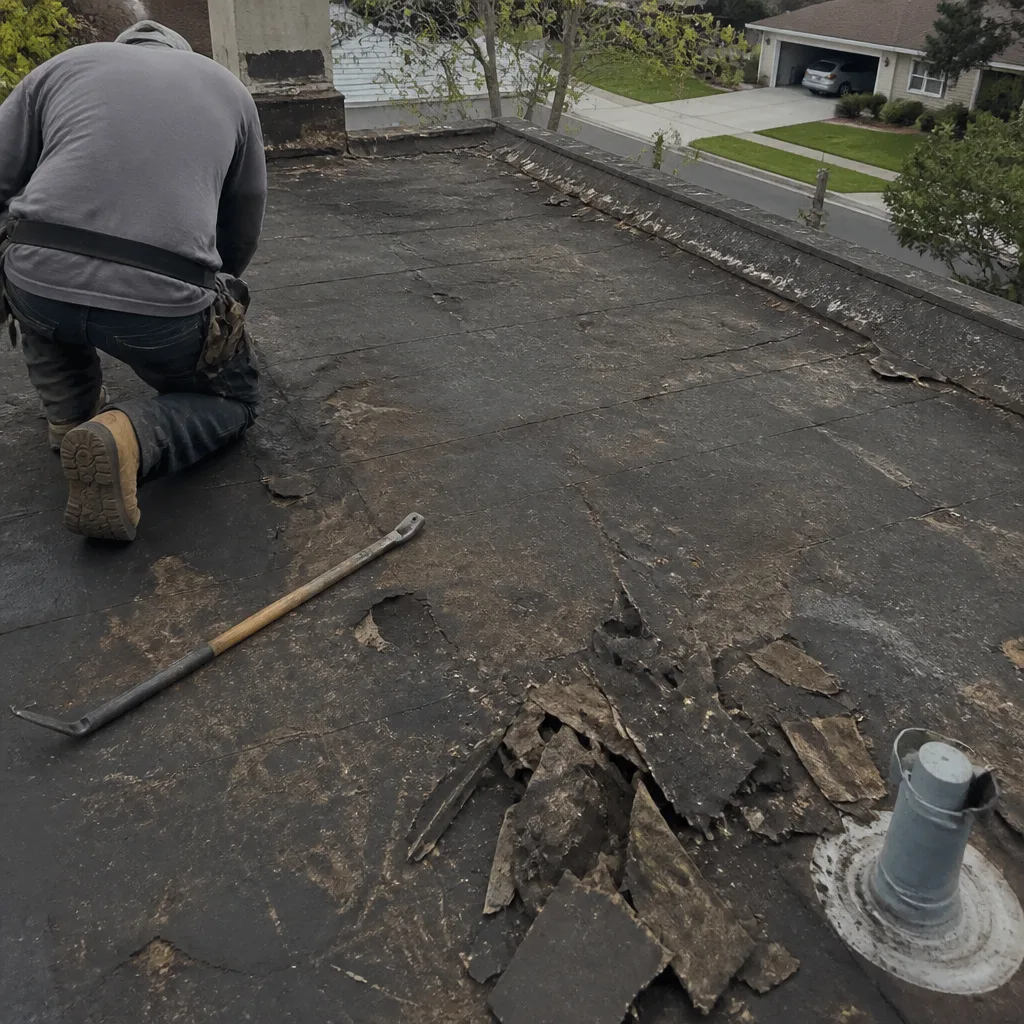 Before
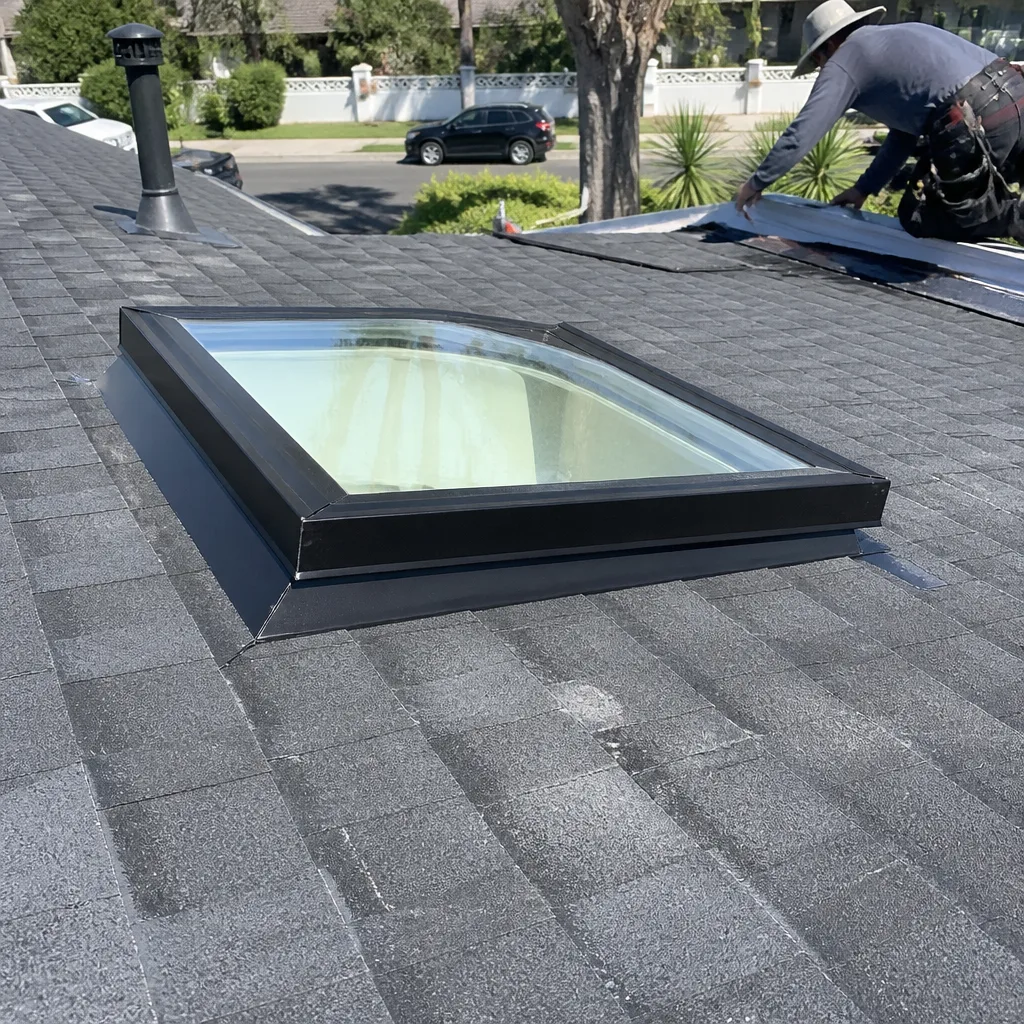 After
AfterRoof Repair Troubleshooting: Common Problems and How to Fix Them
If you point to a ceiling stain and tell a roofer “it’s leaking right there,” most experienced roofers will nod politely and then look somewhere else. That’s almost never where the problem actually is. In a pitched roof, water can travel six, eight, even twelve feet along a rafter or sheathing board before it finds a seam weak enough to drip through. We’ve seen Los Angeles homeowners spend hundreds chasing the wrong repair because they trusted the stain over the physics. This guide teaches the diagnostic logic professional roofers use to trace water from where it shows up to where it entered, plus the Roof Repair Warning Signs Every Homeowner Should Know that waste money in our climate.
Quick Answer
Most roof leaks are diagnosed wrong because water rarely drips straight down. To find the real entry point, inspect your attic during or immediately after rain with a flashlight, working uphill from the stain and looking for wet insulation, darkened sheathing, or active drips. The three most common “deception zones” in Los Angeles homes are HVAC platform penetrations (water enters 4-8 feet away), parapet wall failures behind stucco (water migrates horizontally), and condensation on ductwork in spring (mimics an active leak with no roof damage at all).
Table of Contents
- How Water Actually Travels Through Your Roof Assembly
- The Attic Inspection: A Homeowner’s Step-by-Step Process
- The Three Deception Zones: Where Los Angeles Homeowners Misdiagnose
- The Controlled Hose Test: Confirming a Suspected Leak Without Rain
- What a Legitimate Contractor’s Diagnostic Process Looks Like
- Common Roof Problems and Their Real Fixes
- When Materials Matter: Matching Product to Problem
- What Roof Repair Costs in Los Angeles
How Water Actually Travels Through Your Roof Assembly
Water on a pitched roof behaves like water on a windshield: it follows the path of least resistance, and gravity only wins after surface tension and capillary action have had their say. Understanding this is the difference between a $300 flashing repair and a $3,000 misdiagnosed “re-roof” that doesn’t solve anything.
Here’s what actually happens when water gets past your shingles or tiles. First, it hits the underlayment, the water-resistant barrier beneath your visible roof covering. If the underlayment is intact, water may travel laterally for surprising distances before finding a fastener hole, seam, or area of degradation. Once through the underlayment, it hits the roof decking, typically plywood or OSB sheathing. Wood fibers wick water along the grain, and the gap between sheets can channel water like a tiny aqueduct. Only when the water mass exceeds what the wood can absorb, or when it reaches a low point like a ceiling joist, does it drip. By then, it may have moved eight feet from where it entered.
In Los Angeles, this behavior is amplified by our specific conditions. Our intense, direct sun degrades underlayment faster than in cloudier climates, creating more potential failure points. Our occasional heavy winter rains, separated by long dry spells, mean leaks may go undetected for months until the next storm, by which time the original entry point has deteriorated further and the water path has become more complex. And our mild temperatures mean homeowners rarely notice attic moisture until it’s already stained drywall.
The three layers you need to understand:
- The roof covering (shingles, tiles, metal, or flat-roof membrane): This is your first defense, but it’s not waterproof. It’s water-shedding. In a driving rain with wind, water gets past it.
- The underlayment (felt, synthetic, or self-adhered membrane): This is your real waterproof layer, and where most “mystery leaks” actually begin. In Los Angeles, code requires underlayment on all new roofs, but many older homes have degraded felt that has become brittle from heat exposure.
- The decking and framing (plywood, rafters, joists): Once water reaches this layer, it’s in your structure. The wood will wick, channel, and eventually release the water somewhere you don’t want it.
We’ve traced leaks in Brentwood homes where the stain was over the master bedroom but the entry was above the garage, with water traveling along a continuous rafter. We’ve seen Mid-City duplexes where three separate ceiling stains had a single source at a shared plumbing vent. The pattern is always the same: follow the structure uphill, not the stain straight up.
The Attic Inspection: A Homeowner’s Step-by-Step Process
You don’t need to climb on your roof to narrow down a leak. The attic tells the truth if you know how to read it, and you can do this safely with a flashlight and patience. This inspection is most effective during active rain or within two hours after it stops, when water paths are still wet and visible.
- Safety first. Turn off the attic light if there is one. You need darkness to spot active drips and wet reflections. Wear a dust mask, long sleeves, and sturdy shoes with grip. Bring a bright flashlight and a piece of chalk to mark wet spots. Never step between joists; the drywall below won’t hold you.
- Locate the stain from below first. Measure from a fixed point, like a wall or light fixture, so you can find the corresponding area in the attic. Remember that ceilings are often lower than the attic floor; the stain may not align vertically with what you see above.
- Start downhill and work uphill. Water flows down. Begin at the lowest point of the attic near the stain and scan upward with your flashlight, looking for darkened wood, wet insulation, or active dripping. Wet insulation compresses and darkens; dry insulation is fluffy and uniform in color.
- Look for the “water highway.” Follow any darkened sheathing seams, rusted nail lines, or water marks on rafters uphill toward the ridge. The entry point is almost always higher than the drip point. In Los Angeles ranch-style homes with low-slope roofs, this lateral travel can be extensive.
- Check all penetrations systematically. Plumbing vents, HVAC ducts, chimneys, and electrical service masts are the most common actual entry points. Examine the flashing, the rubber boots on vents (these crack in our UV exposure), and any sealant that may have dried and separated.
- Mark everything. Use chalk to note wet areas, suspected entry points, and anything that looks questionable. Photograph your marks. This documentation is invaluable when you call a contractor, and it protects you from technicians who want to sell a broader repair than necessary.
- Return after the next rain. One inspection gives you suspects; two inspections with matching results give you confidence. If the same area is wet again, you’ve found your zone.
A critical note for Los Angeles homeowners: many attics here contain HVAC equipment or ductwork on a raised platform. These platforms create false floors that hide water paths. Lift any accessible platform panels and inspect beneath. We’ve found saturated insulation under platforms in Santa Monica homes where three previous contractors had missed the actual leak because they never looked below the equipment.
If your attic is finished or inaccessible, your diagnostic options narrow. Focus on the hose test described below, and be aware that any contractor who quotes without finding a way to inspect the underside of your roof is guessing.
The Three Deception Zones: Where Los Angeles Homeowners Misdiagnose
After two decades of repairs across the Kingswell family of companies, we’ve identified three scenarios that fool homeowners and inexperienced contractors alike. Each is particularly common in Los Angeles due to our housing stock, climate, or construction practices.
Deception Zone 1: HVAC Platform Penetrations Mistaken for Field Leaks
Los Angeles has one of the highest rates of rooftop HVAC installations in the country. The raised platforms that hold these units penetrate the roof with a curb, and the curb flashing is the single most common leak source we see in homes built between 1960 and 1990. Homeowners see a stain near a bedroom or hallway and assume a field leak in the shingles or tiles. The actual entry is often four to eight feet away at the platform curb, with water traveling along the structural support framing before dripping.
The tell: stains that appear in interior rooms with no roof penetration directly above, especially in homes with package units visible from the street. The platform curb should have a continuous metal flashing extending up the curb walls and under the roofing material, with sealant at the top edge. In our inspection experience, roughly 60% of these flashings have separated at the top corner due to thermal cycling; the metal expands and contracts, the sealant fatigues, and water finds the gap.
Deception Zone 2: Condensation Mistaken for Active Leaks
Los Angeles has a specific condensation pattern that peaks in March and April. Cool, moist marine air moves inland overnight, and attic surfaces chilled by radiation to the night sky drop below the dew point. Warm, humid air from the living space meets these cold surfaces and condenses, often on ductwork or the underside of sheathing. The resulting moisture can stain drywall, breed mold, and look exactly like a roof leak. Homeowners call for emergency repairs; contractors sell unnecessary roof work.
The tell: stains that appear or worsen on cool, foggy mornings without rain; moisture that dries by afternoon; multiple small stains rather than one concentrated area; stains near ductwork or in corners where air circulation is poor. The real solution is usually ventilation improvement, duct sealing, or insulation correction, not roof repair. A roofer who doesn’t ask about your attic ventilation before quoting a repair doesn’t understand the problem.
Deception Zone 3: Parapet Wall Failures Behind Stucco
Many Los Angeles neighborhoods, from Silver Lake to Venice, have homes with flat roof sections and stucco parapet walls. The wall coping, the cap that should shed water away from the wall, often fails at the joints or was never properly flashed behind the stucco. Water enters the wall cavity, travels horizontally through the framing, and exits at ceiling stains that appear nowhere near the wall. Homeowners blame skylights, which happen to be nearby, or call for flat roof replacement when the membrane is intact.
The tell: stains on ceilings adjacent to parapet walls, especially after wind-driven rain; stucco that sounds hollow when tapped; coping caps with visible gaps or missing sealant. This repair requires a contractor who understands wall-to-roof transitions, not just roofing. At Tilehurst Roofing, we pull stucco samples when we suspect this pattern, because quoting a roof repair without confirming the actual entry point violates The Kingswell Way.
The Controlled Hose Test: Confirming a Suspected Leak Without Rain
You don’t need to wait for the next storm to test a hypothesis. The controlled hose test, done properly, can confirm or eliminate suspected leak locations with confidence. Done improperly, it can create new leaks or damage your home. Follow this sequence exactly.
- Wait for dry conditions. Your roof and attic must be completely dry before you start, or you won’t know if new moisture is from the test or residual from before. In Los Angeles, this typically means 48 hours without rain.
- Work with a partner inside. One person operates the hose; the other watches the attic with a flashlight and phone for communication. The inside observer is the critical role; they confirm whether water appears, and where.
- Start low and work uphill. Begin at the eave or the lowest point of your suspected area. Use a gentle spray that mimics rainfall, not a concentrated jet that forces water past intact materials. Soak a two-foot square for five minutes.
- Wait and observe. Have your partner watch for five minutes after you stop spraying. Water takes time to travel. If no moisture appears, move uphill two feet and repeat.
- Isolate penetrations separately. If testing a plumbing vent, chimney, or HVAC curb, spray only the flashing area, not the surrounding field. This isolates the component from the general roof surface.
- Never spray uphill of a suspected entry. If you think the leak is at a vent, don’t soak the ridge above it first. You’ll introduce water that may travel past your actual problem and confuse the diagnosis.
- Document everything. Photograph where you sprayed, when, and what the inside observer saw. This becomes your evidence if a contractor disputes your findings.
A critical safety note: never spray water near electrical service masts, overhead lines, or while standing on a wet roof. If you cannot perform this test safely from the ground with an extension nozzle, don’t perform it. Call a professional. We’ve responded to Los Angeles homes where homeowners fell from ladders during DIY testing, or where a hose directed at a mast created an electrical hazard. The information isn’t worth the risk.
What a Legitimate Contractor’s Diagnostic Process Looks Like
Any roofer who walks your property for five minutes and hands you a quote is selling, not diagnosing. Here’s what systematic inspection actually involves, and why you should expect it before any price is discussed.
First, the contractor should ask detailed questions: when did you first notice the stain? Has it grown? Does it appear only in rain, or also in fog? Has any work been done on the roof, HVAC, or attic recently? These questions narrow the possibilities before anyone climbs a ladder.
Next, the roof inspection itself. A legitimate diagnostic includes examination of the field (the main roof surface), all penetrations, the perimeter flashing, and the attic underside. In Los Angeles, where many homes have combined pitched and flat sections, both must be inspected even if the stain suggests only one is involved. The contractor should photograph findings and show them to you, not just describe them.
For suspected leaks, the contractor should be able to explain the water path: “Water is entering at this vent boot, traveling along this rafter, and exiting at this ceiling seam.” Vague language like “you need a new roof” without this specificity is a red flag. At Tilehurst Roofing, our technicians document the suspected path in writing, with photos, before any repair is proposed. This is part of The Kingswell Way: say the price before the work, show up in the window we gave, leave the place cleaner than we found it, put the guarantee in writing, come back if it fails.
The written proposal should itemize: the specific repair location, the materials to be used, the labor scope, and the total price. “Repair leak” is not an itemization. “Replace failed plumbing vent boot with new two-piece EPDM boot, seal with polyurethane sealant, inspect adjacent underlayment, replace if degraded” is. Every roof repair in Los Angeles we perform begins with this level of specificity, and the written price is in your hands before any work starts, every single time.
Finally, the guarantee. A legitimate contractor puts it in writing before the crew leaves, not mailed later, not implied. Our written guarantee on every repair includes: what was done, what it covers, for how long, and what happens if it fails. Under the 365-Day Done Right Promise, if a repair fails inside the guarantee period, the crew returns to correct it at no charge. This isn’t a premium add-on; it’s the floor of how we operate.
Common Roof Problems and Their Real Fixes
Below are the problems we encounter most often in Los Angeles homes, what actually causes them, and what Roof Repair services should look like. Use this to evaluate any quote you receive.
Missing or Damaged Shingles
Wind events, common in Los Angeles during Santa Ana conditions, can lift and tear shingles, especially older three-tab products. The real problem isn’t just the missing shingle; it’s the exposed underlayment and potential decking damage from UV exposure during the gap. A proper repair removes the damaged shingle, inspects the underlayment beneath, replaces any degraded felt with self-adhered membrane, installs the new shingle with matching exposure, and seals the fasteners. A sloppy repair nails a new shingle over the hole and calls it done. Ask which your contractor plans to do.
Failed Flashing
Flashing, the metal that seals roof transitions, fails in three ways: corrosion (common at salt-air exposed homes in Marina del Rey or Pacific Palisades), separation from thermal cycling, and improper original installation. The repair must address the specific failure mode. Corroded flashing is replaced, not patched. Separated flashing is removed, the substrate prepared, and new flashing installed with proper expansion accommodation. Improper original installation, common in Los Angeles tract homes built during rapid expansion periods, may require redesign of the transition detail.
Clogged or Damaged Gutters
Gutters are part of the roof system. When they overflow, water backs up under the eave and into the fascia, soffit, and eventually the wall cavity. In Los Angeles, where heavy rain follows long dry periods, accumulated debris becomes hydrophobic and sheds water rather than absorbing it, making overflow sudden and severe. Cleaning is maintenance, not repair. If gutters are pulling away from the fascia, the hangers or spikes have failed and need replacement, and the fascia board may be rotted. A contractor who cleans your gutters without inspecting the attachment isn’t solving the problem.
Ponding on Flat Roofs
Flat roofs aren’t truly flat; they’re built with slight slope to drains or scuppers. When that slope fails due to structural settlement, insulation compression, or poor original construction, water ponds. In Los Angeles sun, ponding water accelerates membrane degradation through thermal stress and UV concentration. The repair depends on cause: structural correction for settlement, tapered insulation for slope failure, or drain modification for poor drainage. Simply patching the membrane where it leaks will fail; the ponding will destroy the new material too.
Tile Roof Cracks and Slips
Concrete and clay tile roofs, common in Los Angeles Spanish and Mediterranean revival homes, can last fifty years or more. The tiles themselves rarely fail; the underlayment beneath them does. A cracked or slipped tile exposes the underlayment to UV, which degrades it in months. The correct repair replaces the underlayment in the affected area, not just the tile. A contractor who carries only a few tile colors and no underlayment isn’t equipped for real repair. At Tilehurst Roofing, we stock repair materials from multiple manufacturers including Boral and Atlas to match existing tile profiles and colors.
When Materials Matter: Matching Product to Problem
Not every repair should use the same materials. The right product for the situation affects both immediate success and long-term durability. Los Angeles conditions, specifically intense UV, occasional heavy rain, and salt air in coastal zones, demand specific material choices.
For underlayment repairs in high-UV exposure areas, we prefer self-adhered modified bitumen or high-temperature synthetic underlayment over traditional felt. The additional cost is modest; the additional lifespan is significant. For flashing in coastal environments, we specify aluminum or copper over galvanized steel to resist salt corrosion. For sealants, polyurethane or high-grade silicone outperforms asphalt-based products that degrade in our heat.
When full replacement becomes necessary, a Roof Replacement Maintenance Schedule: What to Do and When helps guide material selection. We offer options from seven leading manufacturers: GAF, CertainTeed, Owens Corning, IKO, Atlas, Tamko, and Boral. Each has strengths for specific applications. Atlas and Tamko perform well in high-UV environments. Boral provides the clay and concrete tile options that match Los Angeles architectural heritage. IKO offers competitive value for standard asphalt shingle replacement. The product should fit the home, not just what happens to be in the truck.
A contractor with only one manufacturer relationship is limited in what they can recommend. They’re also likely receiving spiffs or volume incentives that bias their advice. We maintain relationships across all seven precisely so we can recommend based on your specific roof, not our inventory.
What Roof Repair Costs in Los Angeles
Price transparency matters, especially for homeowners who’ve been burned by surprise charges. Here’s what typical repairs run in the Los Angeles market, based on our experience across the metro area. These are ranges, not quotes; your specific situation requires inspection.
| Repair Type | Typical Range | What Affects Price |
|---|---|---|
| Plumbing vent boot replacement | $280 - $450 | Accessibility, number of boots, decking condition beneath |
| Small shingle repair (1-3 shingles) | $250 - $500 | Shingle availability, underlayment damage, roof pitch |
| Flashing repair (chimney, wall, curb) | $400 - $900 | Metal type, extent of corrosion, stucco or siding involvement |
| Flat roof patch (modified bitumen) | $350 - $750 | Area size, substrate condition, warranty term |
| Tile repair with underlayment (small area) | $500 - $1,200 | Tile match difficulty, underlayment type, access complexity |
| Gutter reattachment / limited replacement | $200 - $600 | Fascia condition, linear feet, downspout involvement |
| Attic ventilation correction | $400 - $1,500 | Existing vent count, soffit accessibility, ridge length |
These ranges reflect Los Angeles labor costs and material availability. They’re what we actually see, not theoretical national figures. Every roof replacement in Los Angeles and repair we quote is itemized and fixed; the price in your hands before work starts is the price you pay. No change orders, no “we found something else” surprises. This is The Kingswell Way, and it’s how we’ve operated since 2000.
Common Mistakes to Avoid
- Trusting the stain location. We’ve said it repeatedly because it’s the most expensive error homeowners make. The stain shows where water exited, not where it entered. Always inspect uphill and along structural members.
- Applying roof cement as a permanent fix. Asphalt roof cement, the black goop in caulk tubes, has legitimate uses as temporary sealant or bedding for flashing. As a permanent repair, it cracks in our heat within one to two seasons and traps moisture against the substrate. We’ve removed pounds of old cement from Los Angeles roofs where previous “repairs” created worse problems than they solved.
- Ignoring attic ventilation. Poor ventilation causes condensation that mimics leaks, accelerates shingle degradation from the underside, and voids many manufacturer warranties. A contractor who inspects your roof without evaluating ventilation is missing half the system.
- Accepting a quote without itemization. “Fix leak: $1,200” tells you nothing about what you’re buying. Demand specific scope, specific materials, and specific locations. If the contractor can’t provide this, they haven’t diagnosed properly.
- DIY repairs on steep or high roofs. Los Angeles has many hillside homes with pitches exceeding 6:12 and significant drop-offs. Falls from residential roofs cause serious injury and death every year. If you cannot work safely from a ladder or the ground, don’t. The savings aren’t worth the risk.
- Delaying repair through a rainy season. Small leaks become large leaks; large leaks become structural damage. Los Angeles winter rains may be intermittent, but when they come, they can be intense. A $300 repair in October becomes a $3,000 repair in March.
When to Call a Professional
Call a professional when: the leak is active during rain and you cannot safely access the attic; the repair involves heights, steep pitches, or electrical hazards; you’ve performed the attic inspection and hose test but cannot isolate the entry point; or you’ve received conflicting diagnoses from multiple contractors and need authoritative resolution.
Also call when the problem involves structural elements: sagging decking, cracked rafters, or significant mold. These extend beyond roofing into building science and structural repair. A roofer who only knows roofing may miss the broader issue.
At Tilehurst Roofing, we offer free estimates in Los Angeles. A trained technician will perform the systematic diagnostic described above, document findings with photographs, and provide a written, itemized quote before any work is discussed. Call (945) 303-9821 to schedule. Our calls are answered by a live person, 24 hours a day, 7 days a week, including evenings and weekends. You’ll never reach voicemail or a callback queue.
Frequently Asked Questions
Start in your attic during or immediately after rain, working uphill from the ceiling stain with a flashlight. Look for wet insulation, darkened sheathing, or active drips along rafters and joists. Water rarely drips straight down; it travels along structural members, so the entry point is almost always higher than the stain. If your attic is finished or inaccessible, perform a controlled hose test with a partner inside observing. Call (945) 303-9821 for a free estimate if you cannot isolate the source - our technicians trace leaks systematically, not by guesswork - and check our more guides & resources for additional help.
Most common repairs run $250 to $900, with simple shingle or vent boot repairs at the lower end and flashing or tile work at the higher end. Full flat roof sections or extensive underlayment replacement can exceed this range. Material costs in Los Angeles track slightly above national averages due to transportation and code requirements. We provide written, itemized quotes before any work starts, with no change orders. Call (945) 303-9821 for an exact quote - estimates are free.
Intermittent leaks usually indicate wind-driven rain at a specific angle, partial flashing failure that only admits water under certain conditions, or condensation rather than an active leak. In Los Angeles, leaks that appear only during Santa Ana wind events often point to lifted shingles or compromised ridge vents. Leaks that appear in fog without rain strongly suggest condensation. Document the weather conditions when leaks occur; this pattern helps professionals diagnose correctly.
At Tilehurst Roofing, no. Our written price before any work starts is fixed. We inspect thoroughly enough to identify scope before quoting, and we itemize so you know exactly what you’re buying. If we discover genuinely unforeseen damage during work, we document it, stop, and discuss options before proceeding. No surprise charges, no “while we were up there” additions. This is The Kingswell Way, and it’s been our practice since 2000.
Replacement is warranted when: the roof is near or past its designed service life; damage is widespread rather than localized; or the cost of repairs approaches 40% of replacement cost. For Los Angeles homeowners with roofs under fifteen years and isolated damage, repair is usually the better value. We evaluate this honestly; our business depends on long-term relationships, not pushing unnecessary replacements. A roofing company in Los Angeles you can trust will give you the same straight assessment.
A proper repair should last the remaining life of the surrounding roof system. In practice, this means 5-15 years for most Los Angeles homes, depending on original roof age and material. Our repairs carry a written guarantee and the 365-Day Done Right Promise: if it’s not done right, we make it right, for a full year after the job. If a repair fails inside the guarantee period, we return at no charge to correct it. We put this in writing before the crew leaves, not mailed later.
Temporary measures like tarps or buckets are reasonable to prevent interior damage while you arrange professional repair. Actual repair attempts without proper diagnosis usually make the problem worse: misdirected sealant traps water, incorrect materials accelerate degradation, and undiagnosed entry points continue leaking. For high-tension components, steep heights, or electrical hazards, DIY is genuinely dangerous. We’ve responded to Los Angeles homes where well-intentioned patching concealed structural damage that became far more expensive. Get the diagnosis right first.
The Bottom Line
Roof leak diagnosis is structural detective work, not guesswork. Water travels; stains lie; and the right fix depends on finding the true entry point, not the most obvious symptom. Start with a systematic attic inspection, use the hose test to confirm suspicions, and demand itemized, written quotes from any contractor you consider. In Los Angeles, our specific climate and housing stock create deception zones that fool homeowners and inexperienced roofers alike: HVAC platforms, condensation patterns, and parapet wall failures require real expertise to identify correctly.
At Tilehurst Roofing, we built our practice on homeowners who’ve been burned before and won’t tolerate it again. Every job begins with a written price before any work starts. Every repair carries a written guarantee and the 365-Day Done Right Promise. Our background-checked, uniformed technicians arrive in the window we promised, and a live person answers every call, 24 hours a day, 7 days a week. If you’re tired of guessing about your roof, call (945) 303-9821 and schedule your free estimate. We’ll trace the leak to its source, explain exactly what we found, and put the fix in writing before a single nail is driven.
Written by Greg Holloway, Owner at Tilehurst Roofing, serving Los Angeles since 2000.