
Last updated October 8, 2026
Free roof inspection with deck photos before we talk money - GAF and Owens Corning certified installation
 Before
 After
After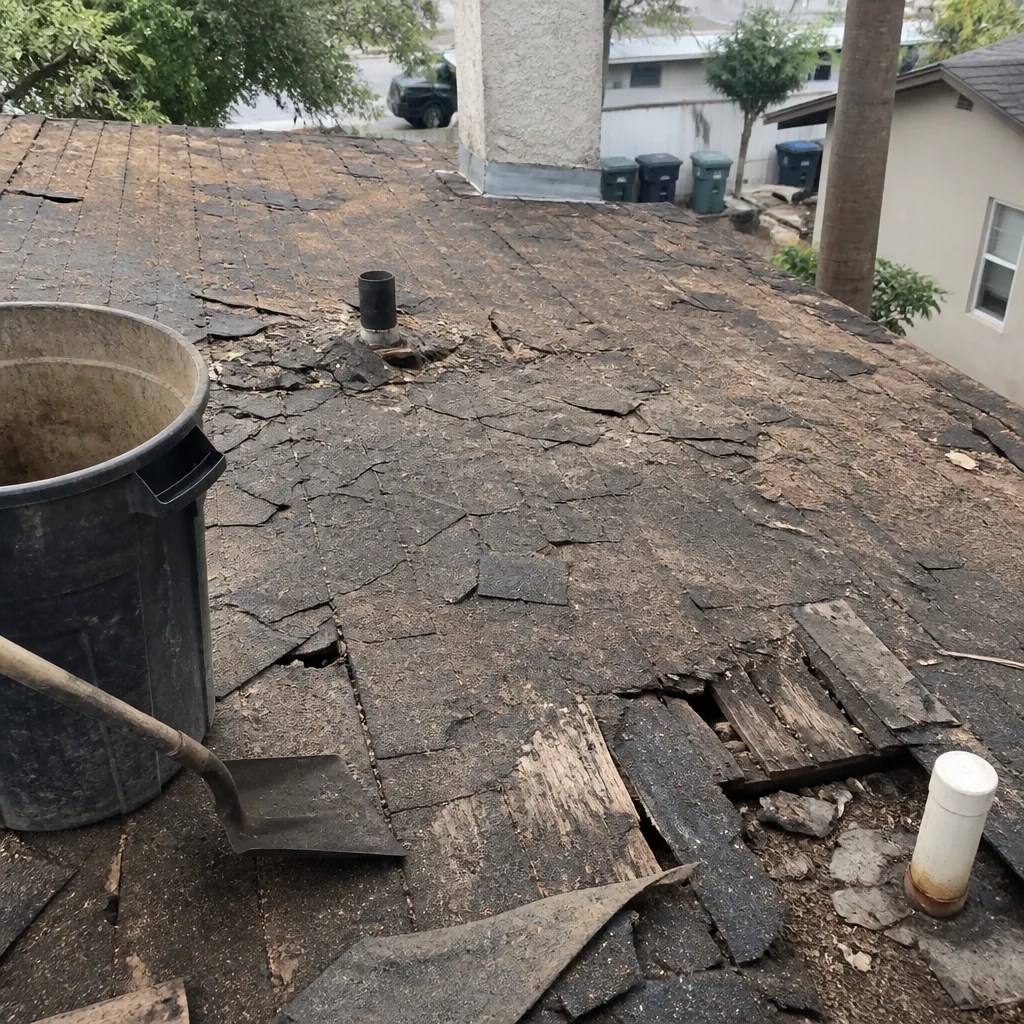 Before
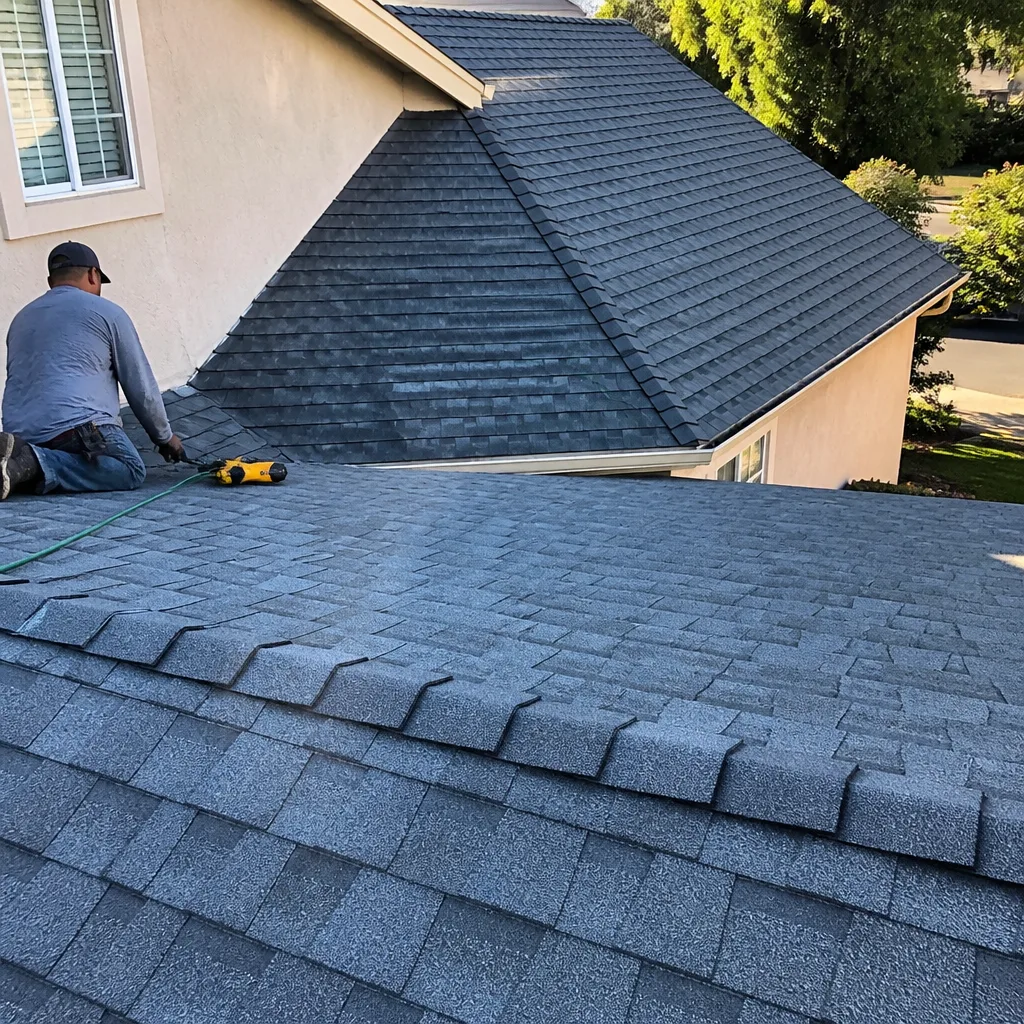 After
After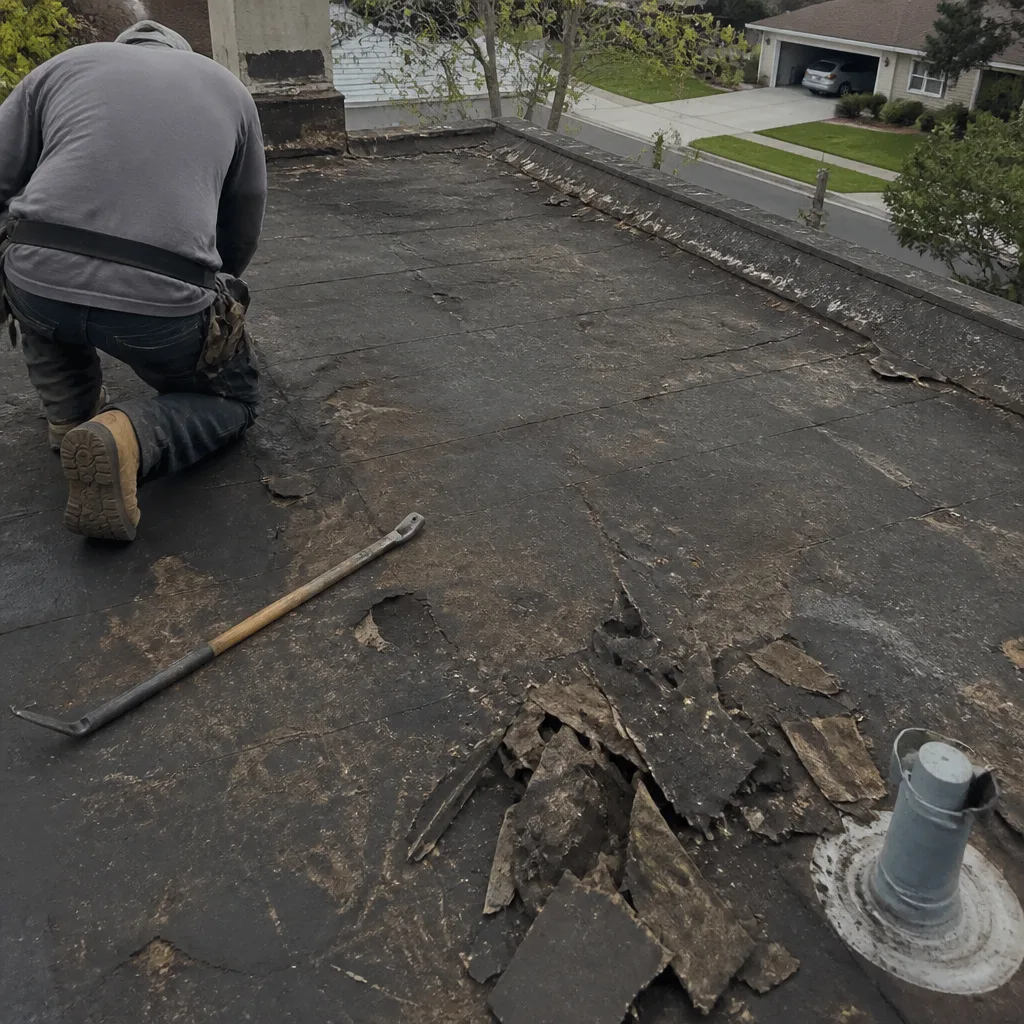 Before
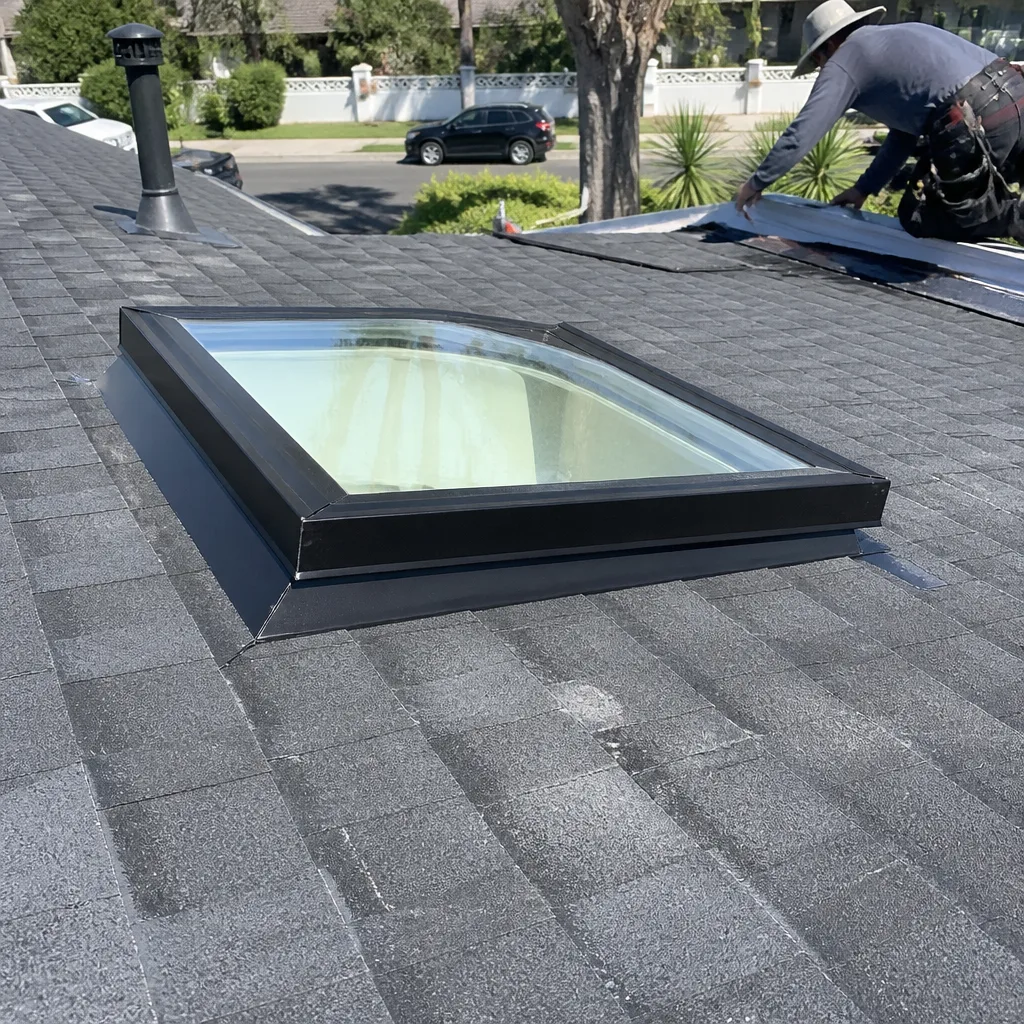 After
AfterRoofing Company Troubleshooting: Common Problems and How to Fix Them
Here’s a number that stops homeowners cold: roughly 70% of roof leaks that appear within the first five years trace back to installation errors, not defective shingles. In Los Angeles, where a single rainstorm can expose a shortcut taken months earlier, we’ve torn off roofs installed by other contractors and found missing underlayment, nails driven through flashing, and ridge caps glued on instead of nailed. The shingle itself was fine. The labor was the problem. This guide shows you how to read the evidence on your own roof, distinguish a material failure from a workmanship failure, and build the documentation you’ll need if the original contractor needs to make it right. For more guides & resources, visit our blog.
Quick Answer
Most roofing problems that look like material failures are actually installation errors - wrong nail patterns, skipped underlayment, or flashing that was caulked instead of properly lapped - and recognizing these Roofing Company Warning Signs Every Homeowner Should Know can save you from costly repeat repairs. To fix them permanently, trace the symptom back to the original workmanship error, document it with dated photos from both the interior and exterior, and require the contractor to honor their written workmanship guarantee rather than pursuing a manufacturer defect claim that will likely be denied.
Table of Contents
- Why Your Roof Leaks After a “Repair”
- Material Defect vs. Installation Error: How to Tell
- Flashing Failures: The Repair That Fails Twice
- Los Angeles Climate Damage: Thermal Cracking and Cap Sheet Bubbling
- Reading Your Attic: What the Stains Tell You
- Building Your Paper Trail: Photos, Dates, and Guarantees
- Nail Patterns and Underlayment: Invisible Errors, Visible Leaks
- Common Mistakes to Avoid
- When to Call a Professional
- Frequently Asked Questions
Why Your Roof Leaks After a “Repair”
A roof leaking six months after installation almost never means the shingles are defective. It almost always means something was installed incorrectly, and the manufacturer’s warranty won’t cover it.
We see this pattern constantly in Los Angeles, especially after the first heavy winter rain. A homeowner calls the original roofer. The roofer returns, smears more caulk around the same spot, and leaves. The next rain, the leak returns. The homeowner now faces a choice: call again, file a warranty claim, or hire someone else.
Here’s what usually happened. The original repair addressed the symptom (water coming through) but not the cause (improper flashing, missing underlayment, or nails in the wrong place). Caulk is not a repair. It’s a delay tactic. Proper flashing involves overlapping metal pieces that channel water down and away, with each piece lapped over the one below it like shingles themselves. When a contractor skips this and relies on sealant, the sealant dries, cracks, and fails - usually within 8 to 14 months in Los Angeles sun.
The other common scenario: the repair crew replaced visible damaged shingles but never inspected the decking beneath. Wet decking warps. Warped decking lifts new shingles. Lifted shingles leak. The homeowner sees “new shingles leaking” and assumes bad product. What they actually have is a contractor who didn’t check the substrate.
Our roof repair in Los Angeles process starts with a full interior and exterior inspection, including the attic, because we’ve learned that the visible hole in the ceiling is rarely where the water entered. The Kingswell Way means finding the actual entry point, saying the price before we touch anything, and putting the guarantee in writing before we leave.
Material Defect vs. Installation Error: How to Tell
Manufacturer warranties cover defects in the product itself. They do not cover installation errors. Knowing which you’re dealing with saves months of frustration and determines who pays.
Signs of a Material Defect
- Problems appear across large, continuous areas - entire slopes or sections - not isolated spots
- The issue matches known manufacturing lots; your roofer or supplier can check lot numbers
- Shingles show consistent curling, granule loss, or cracking in a pattern that follows the manufacturing process, not the roof geometry
- Neighboring homes with the same product and installation date show identical symptoms
Signs of an Installation Error
- Problems cluster around valleys, chimneys, vents, or other detail work - the hardest parts to install correctly
- Leak locations don’t align with weather patterns (a material defect would fail more uniformly)
- You can see exposed nail heads, misaligned shingle courses, or gaps at flashing joints from the ground or a ladder
- The issue appeared within the first 1-3 years, faster than normal material degradation
In Los Angeles, material defects in asphalt shingles are genuinely rare among established brands like IKO, Atlas, or Tamko. These manufacturers test extensively. What we find far more often is a crew that rushed the starter course, placed nails in the sealant strip instead of above it, or skipped the drip edge entirely. The shingles themselves were fine. They were just installed wrong.
One test we use: if the problem follows the roof’s architectural features (valleys, walls, pipes), it’s installation. If it ignores those features and appears randomly across open field, consider material. Most homeowners never need this test. The answer is installation.
Flashing Failures: The Repair That Fails Twice
Re-caulked flashing is the single most common “repair” that fails within one rainy season. Here’s what proper metal step flashing looks like, and why most quick fixes don’t qualify.
Step flashing protects the joint where a roof meets a vertical wall - the side of a chimney, a dormer, or an upper story. Each piece is an L-shaped metal rectangle, roughly 8 by 10 inches. As shingles go up the wall, each shingle gets its own piece of step flashing, with the horizontal leg under the shingle and the vertical leg against the wall. The wall siding or counter-flashing covers the vertical leg. Water hits the shingle, runs down, hits the next piece of metal, runs down again. No sealant required. The system works by gravity and overlap.
What we see instead, especially on older Los Angeles homes in neighborhoods like Silver Lake or Echo Park: a previous roofer ran a bead of caulk along the wall joint and called it done. Or they used a single continuous strip of metal instead of individual pieces, creating a channel where water can back up. Or they nailed through the flashing where it should remain free-floating, allowing thermal expansion to crack the seal.
When we repair flashing properly, we remove siding if necessary, install individual step pieces with each course of shingles, and replace counter-flashing or use a proper reglet (a groove cut into masonry with the metal inserted and sealed). The repair takes longer. It costs more than caulk. It also lasts the life of the roof.
If your flashing was “repaired” with caulk and the leak returned, you have documentation of a failed repair attempt. That’s evidence if you need to hold the original contractor accountable.
Los Angeles Climate Damage: Thermal Cracking and Cap Sheet Bubbling
Los Angeles roofing faces specific stresses that don’t apply uniformly across the country. Understanding them helps you distinguish climate damage from installation error, and both from normal aging. See our Roofing Cost Breakdown: The Los Angeles Homeowner’s Reference for 2026 for related budgeting guidance.
Thermal Cracking from Heat Cycling
Asphalt shingles in Los Angeles experience extreme temperature swings - 50°F at 6 a.m., 95°F by 2 p.m., year after year. This heat cycling causes the asphalt to expand and contract. Over time, surface cracks appear. These are typically shallow, running across the shingle face in a random pattern, and they appear after 12-18 years on quality products.
However, premature thermal cracking - appearing at 5-7 years - usually indicates one of two installation errors. First, the crew may have installed shingles in cold weather without allowing them to flatten, creating stress points. Second, they may have used incompatible underlayment that trapped heat against the shingle underside. In either case, the symptom looks like material failure but stems from workmanship.
Cap Sheet Bubbling on Flat Roofs
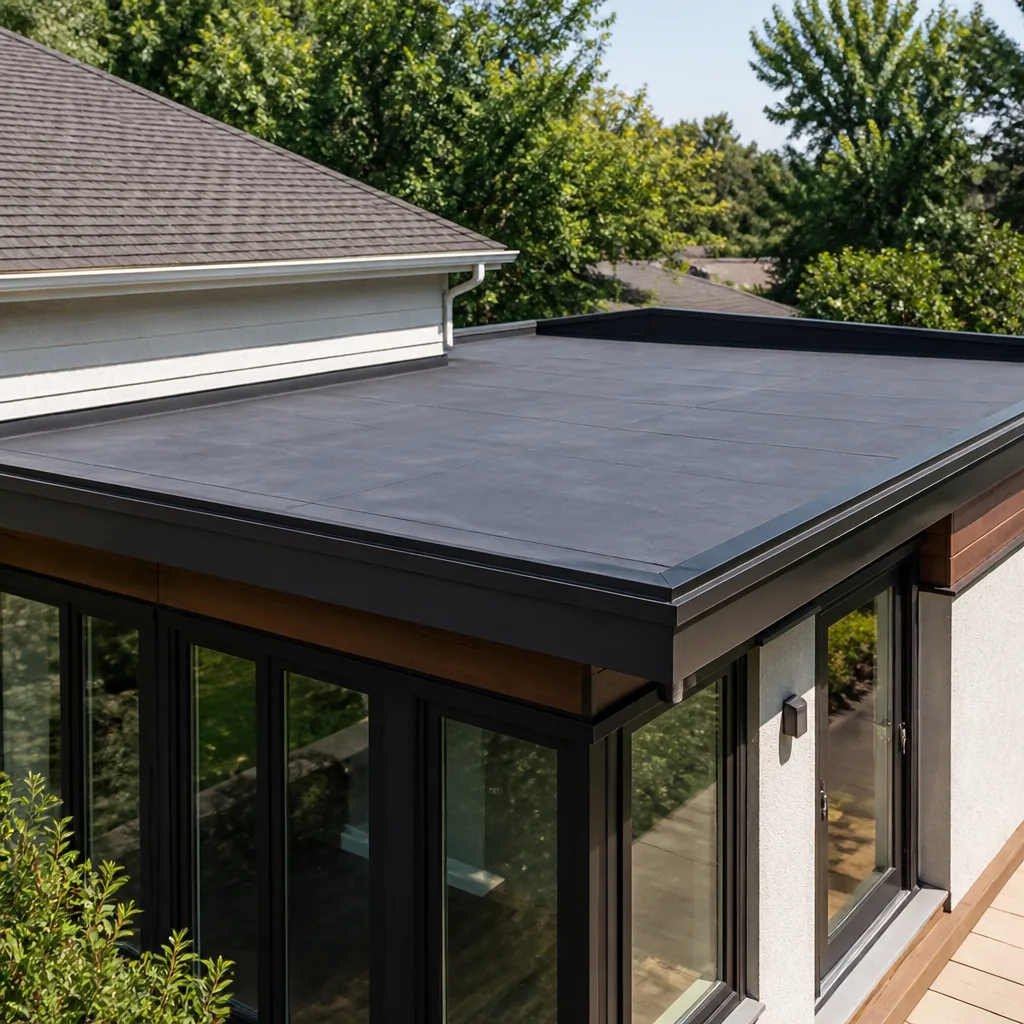
Many Los Angeles homes, especially in Mid-City and older Pasadena neighborhoods, have modified bitumen or torch-down flat roofs. Cap sheet bubbling - raised blisters in the top layer - indicates trapped moisture or inadequate ventilation during installation. Proper torch-down application requires the crew to roll out the sheet, heat it uniformly, and press out air pockets as they go. Bubbles mean they rushed this step or applied heat unevenly.
Bubbling can also indicate moisture trapped in the insulation below, which may mean the original roof was installed over wet substrate. That’s a code violation and a workmanship issue. The repair requires removing the affected section, drying or replacing insulation, and reinstalling - not just slapping another layer on top.
We’ve replaced flat roofs where three previous contractors had simply added layers, each trapping more moisture. By the time we arrived, the decking was compromised. The Kingswell Way demands we strip to solid substrate, say the price before starting, and put the guarantee in writing.
Reading Your Attest: What the Stains Tell You
The wet spot on your ceiling is not where the leak started. Water travels along rafters, insulation, and vapor barriers before it finds an exit. Your attic tells the true story - if you know how to read it.
- Start safely. Use a stable ladder, a headlamp, and a dust mask. Bring your phone for photos. If your attic has no flooring, step only on joists. Never trust ceiling drywall to hold your weight.
- Follow the stain uphill. Water runs down. The highest point of any discoloration is closest to the entry point. Trace rafters and sheathing upward from the visible stain.
- Look for nail shiners. These are nails that missed the framing and penetrate into the attic space. On cold mornings, they’ll show condensation - a thin frost or wet sheen. Each shiner is a potential leak path.
- Check valleys and penetrations from below. Look up at where roof planes meet or where pipes, vents, or chimneys pass through. You should see solid decking, intact underlayment, and proper flashing. Gaps, daylight, or water stains here point to installation errors.
- Document everything. Wide shots showing location. Close-ups of the specific defect. Photos that include a recognizable reference point so you can locate the same spot from outside later.
In Los Angeles, attic temperatures can exceed 140°F in summer. This accelerates any problem. A small gap in flashing that might take years to show in Portland becomes an active leak in two Los Angeles rainy seasons. The stain pattern also differs: summer heat drives moisture outward, often creating multiple small stains rather than one dramatic spot. Don’t dismiss scattered discoloration as “old” - it may indicate an ongoing issue.
If you find extensive black mold, rotted decking, or electrical components in contact with moisture, stop and call a professional. These are genuine safety hazards. Our roof repair team handles these inspections daily and can access areas that aren’t safe for homeowners.
Building Your Paper Trail: Photos, Dates, and Guarantees
To hold a roofing company to their workmanship guarantee after a problem recurs, you need documentation that connects the original work to the current failure. Here’s how to build it.
Photos and Dates
Take dated photos at three stages: the initial problem, the repair work in progress (or immediately after), and the recurrence. Use your phone’s timestamp feature. Email the photos to yourself the same day - this creates a third-party date record.
For each photo, include a written note: location on roof, weather conditions, and what you’re showing. “January 15, 2024. Northeast slope below master bedroom dormer. Water stain on ceiling drywall, approximately 18 inches from west wall. Raining 0.4 inches since midnight.” Specificity matters if this becomes a dispute.
The Original Contract and Guarantee
Every legitimate Roofing Company services provider delivers a written contract and a written guarantee. If yours didn’t, that’s itself a red flag. The contract should specify: scope of work, materials used (including manufacturer and product line), start and completion dates, and total price. The guarantee should state: what is covered, for how long, and the process for making a claim.
Our written guarantee on every repair is delivered before the crew leaves, not mailed later. The 365-Day Done Right Promise covers a full year. If a repair fails inside that period, we return at no charge. We put this in writing because we’ve learned that verbal promises evaporate when the rain starts.
Correspondence Records
Keep every text, email, and voicemail. If you speak by phone, follow up with an email summarizing the conversation: “Per our call today, you agreed to return Thursday to inspect the recurring leak at the chimney flashing.” This creates a record that informal conversations lack.
In Los Angeles, the Contractors State License Board accepts complaints against licensed contractors. Your documentation determines whether they can act. Photos without dates, guarantees without signatures, and verbal agreements without witnesses all weaken your position. Build the file as you go, not after the dispute starts.
Nail Patterns and Underlayment: Invisible Errors, Visible Leaks
Some of the most destructive installation errors are invisible from the ground. They only reveal themselves when the roof leaks - and by then, the crew is long gone.
Nail Placement
Asphalt shingles require four to six nails per shingle, placed in a specific zone: above the sealant strip but below the exposure line. Nails too high miss the shingle below, creating a wind-lift risk. Nails too low penetrate the sealant strip, preventing proper adhesion and creating a leak path. Nails in the wrong place are installation errors that void manufacturer warranties and cause premature failure.
In high-wind zones - including parts of Los Angeles near the coast or in canyon passes - manufacturers require six nails and specific placement. A crew that uses four nails to save time has installed a roof that won’t perform as rated. This isn’t a material defect. It’s a specification violation.
Underlayment Gaps and Skips
Underlayment is the waterproof barrier beneath your shingles. Code requires it across the entire roof deck. We regularly find sections where previous crews skipped it entirely - usually in valleys or at eaves, the most critical areas - or used inadequate products like plain felt where synthetic or self-adhering membrane was required.
Self-adhering membrane (often called ice and water shield) is required at eaves and valleys in many jurisdictions. In Los Angeles, it’s not always mandated by code but is standard practice for quality installation because it seals around nail penetrations. A roof without it has less protection at the most vulnerable joints.
When we inspect a leaking roof, we look for these invisible errors by lifting shingles at the edge or accessing the attic. The evidence is usually clear: rust streaks from improperly placed nails, gaps in underlayment visible from below, or missing membrane at valleys. Each finding goes into our written report, which the homeowner can use however they need.
Material options from seven leading manufacturers - GAF, CertainTeed, Owens Corning, IKO, Atlas, Tamko, and Boral - mean the product fits the home, not just what happens to be in the truck. But even the best shingle fails if nailed wrong.
Common Mistakes to Avoid
- Accepting a verbal guarantee. A promise that “we’ll take care of you” means nothing when the crew has moved to another state. Demand written terms, specific coverage, and a clear process for claims.
- Assuming the manufacturer warranty covers everything. It covers defects in the product, not installation errors. Most leaks are installation errors. The contractor’s workmanship guarantee is what actually protects you.
- Letting a roofer caulk over flashing instead of replacing it. In Los Angeles sun, caulk lasts 12-18 months. Proper metal flashing lasts decades. If your “repair” was just sealant, it wasn’t a repair.
- Ignoring attic access. The ceiling stain is the end of the story, not the beginning. Every competent inspection includes the attic. If your roofer never went up there, they were guessing.
- Adding new roofing over damaged decking. Wet or warped decking must be replaced. Covering it traps moisture, voids warranties, and guarantees future problems. We strip to solid substrate every time.
- Not checking permit status. In Los Angeles, most roof replacements require a permit. Work without permits can create title problems when you sell and may void your homeowner’s insurance. Verify permits were pulled and inspections passed.
- Waiting to document. Photos taken after mold remediation or after the contractor has returned to “fix” the evidence are weak. Document the initial problem, the repair, and any recurrence immediately.
When to Call a Professional
Some roof problems are manageable for informed homeowners: a single lifted shingle after wind, a small area of granule loss, a clogged gutter causing overflow. Most are not.
Call a professional when you see active water intrusion, multiple leak locations, sagging decking, daylight visible through the roof boards, or any electrical component near moisture. These scenarios involve genuine safety risks - structural collapse, electrical shock, or falls from compromised surfaces.
Also call when you’ve had a repair that failed. Recurring leaks indicate systematic problems, not isolated bad luck. A qualified inspector can trace the pattern, identify the original error, and specify the proper fix - which often differs entirely from what was attempted before.
Tilehurst Roofing offers free estimates in Los Angeles. A live person answers every call, 24 hours a day, 7 days a week - including evenings and weekends. When you call (945) 303-9821, we’ll schedule a full inspection, provide a written price before any work starts, and put our guarantee in writing before we leave. That’s the Kingswell Way, and it’s how we’ve operated since 2000.
Frequently Asked Questions
The repair likely addressed the symptom (water coming through) but not the cause (improper flashing, missing underlayment, or incorrect nail placement). Caulk-over repairs are especially common and typically fail within 8-14 months. Call (945) 303-9821 for a free inspection - we’ll trace the actual entry point and give you a written price to fix it permanently.
Most asphalt-shingle repairs in Los Angeles run $350-$850, depending on access difficulty and whether decking needs replacement. Flashing repairs range $450-$1,200. Full valley rebuilds start around $1,800. We provide a written, line-item quote before any work starts, with fixed pricing and no change orders. Call (945) 303-9821 for an exact quote - estimates are free.
No. Our written price is fixed before we begin. The only exception is if we discover concealed damage that was genuinely impossible to assess during inspection - rotted rafters, for example - and even then, we stop work, show you the finding, and require your written approval before proceeding. No surprises, no pressure.
Material defects appear across large, continuous areas in a pattern that follows manufacturing, not roof geometry. Installation errors cluster around valleys, chimneys, vents, and other detail work, and they appear within 1-3 years. In our experience across Los Angeles, installation errors outnumber true material defects by roughly 10 to 1. Call (945) 303-9821 and we’ll inspect to determine which you’re facing.
Yes, for all work that requires them under Los Angeles building code. We pull permits, schedule inspections, and ensure everything passes before we consider the job complete. This protects your title, your insurance coverage, and your resale value. We include permit costs in your written quote so there are no surprises.
A properly executed repair should last the remaining life of the surrounding roof system. Our written guarantee on every repair covers a full 365 days under the Done Right Promise, and if a repair fails inside that period, we return at no charge. For permanent solutions to recurring problems, roof replacement in Los Angeles may be more cost-effective than repeated patchwork.
The Bottom Line
Most roofing problems that look like material failures are actually contractor failures. The evidence is usually visible - in your attic, on your flashing, in your nail patterns - if you know where to look. Document everything with dated photos, demand written guarantees with specific terms, and never accept caulk as a flashing repair. In Los Angeles climate, shortcuts fail fast. The question isn’t whether your roof will expose poor workmanship; it’s whether you’ll recognize the evidence and hold the right party accountable. When you need a second opinion or a permanent fix, we’re here.
Written by Greg Holloway, Owner at Tilehurst Roofing, serving Los Angeles since 2000.